


How to Sharpen a Folding Knife with a Stone: A Comprehensive Guide
Sharpening a folding knife with a stone is a fundamental skill for anyone who values a sharp, reliable blade. Whether you’re an outdoor enthusiast, a chef, or simply someone who appreciates a well-maintained tool, knowing how to properly sharpen your knife can extend its lifespan and improve its performance. This guide will walk you through the process step-by-step, covering everything from selecting the right sharpening stone to maintaining your knife’s edge over time.
1. Understanding the Basics
1.1 Why Sharpen Your Folding Knife?
A sharp knife is not only more effective but also safer to use. A dull blade requires more force to cut, increasing the risk of slips and accidents. Regular sharpening ensures that your folding knife remains in optimal condition, ready for any task.
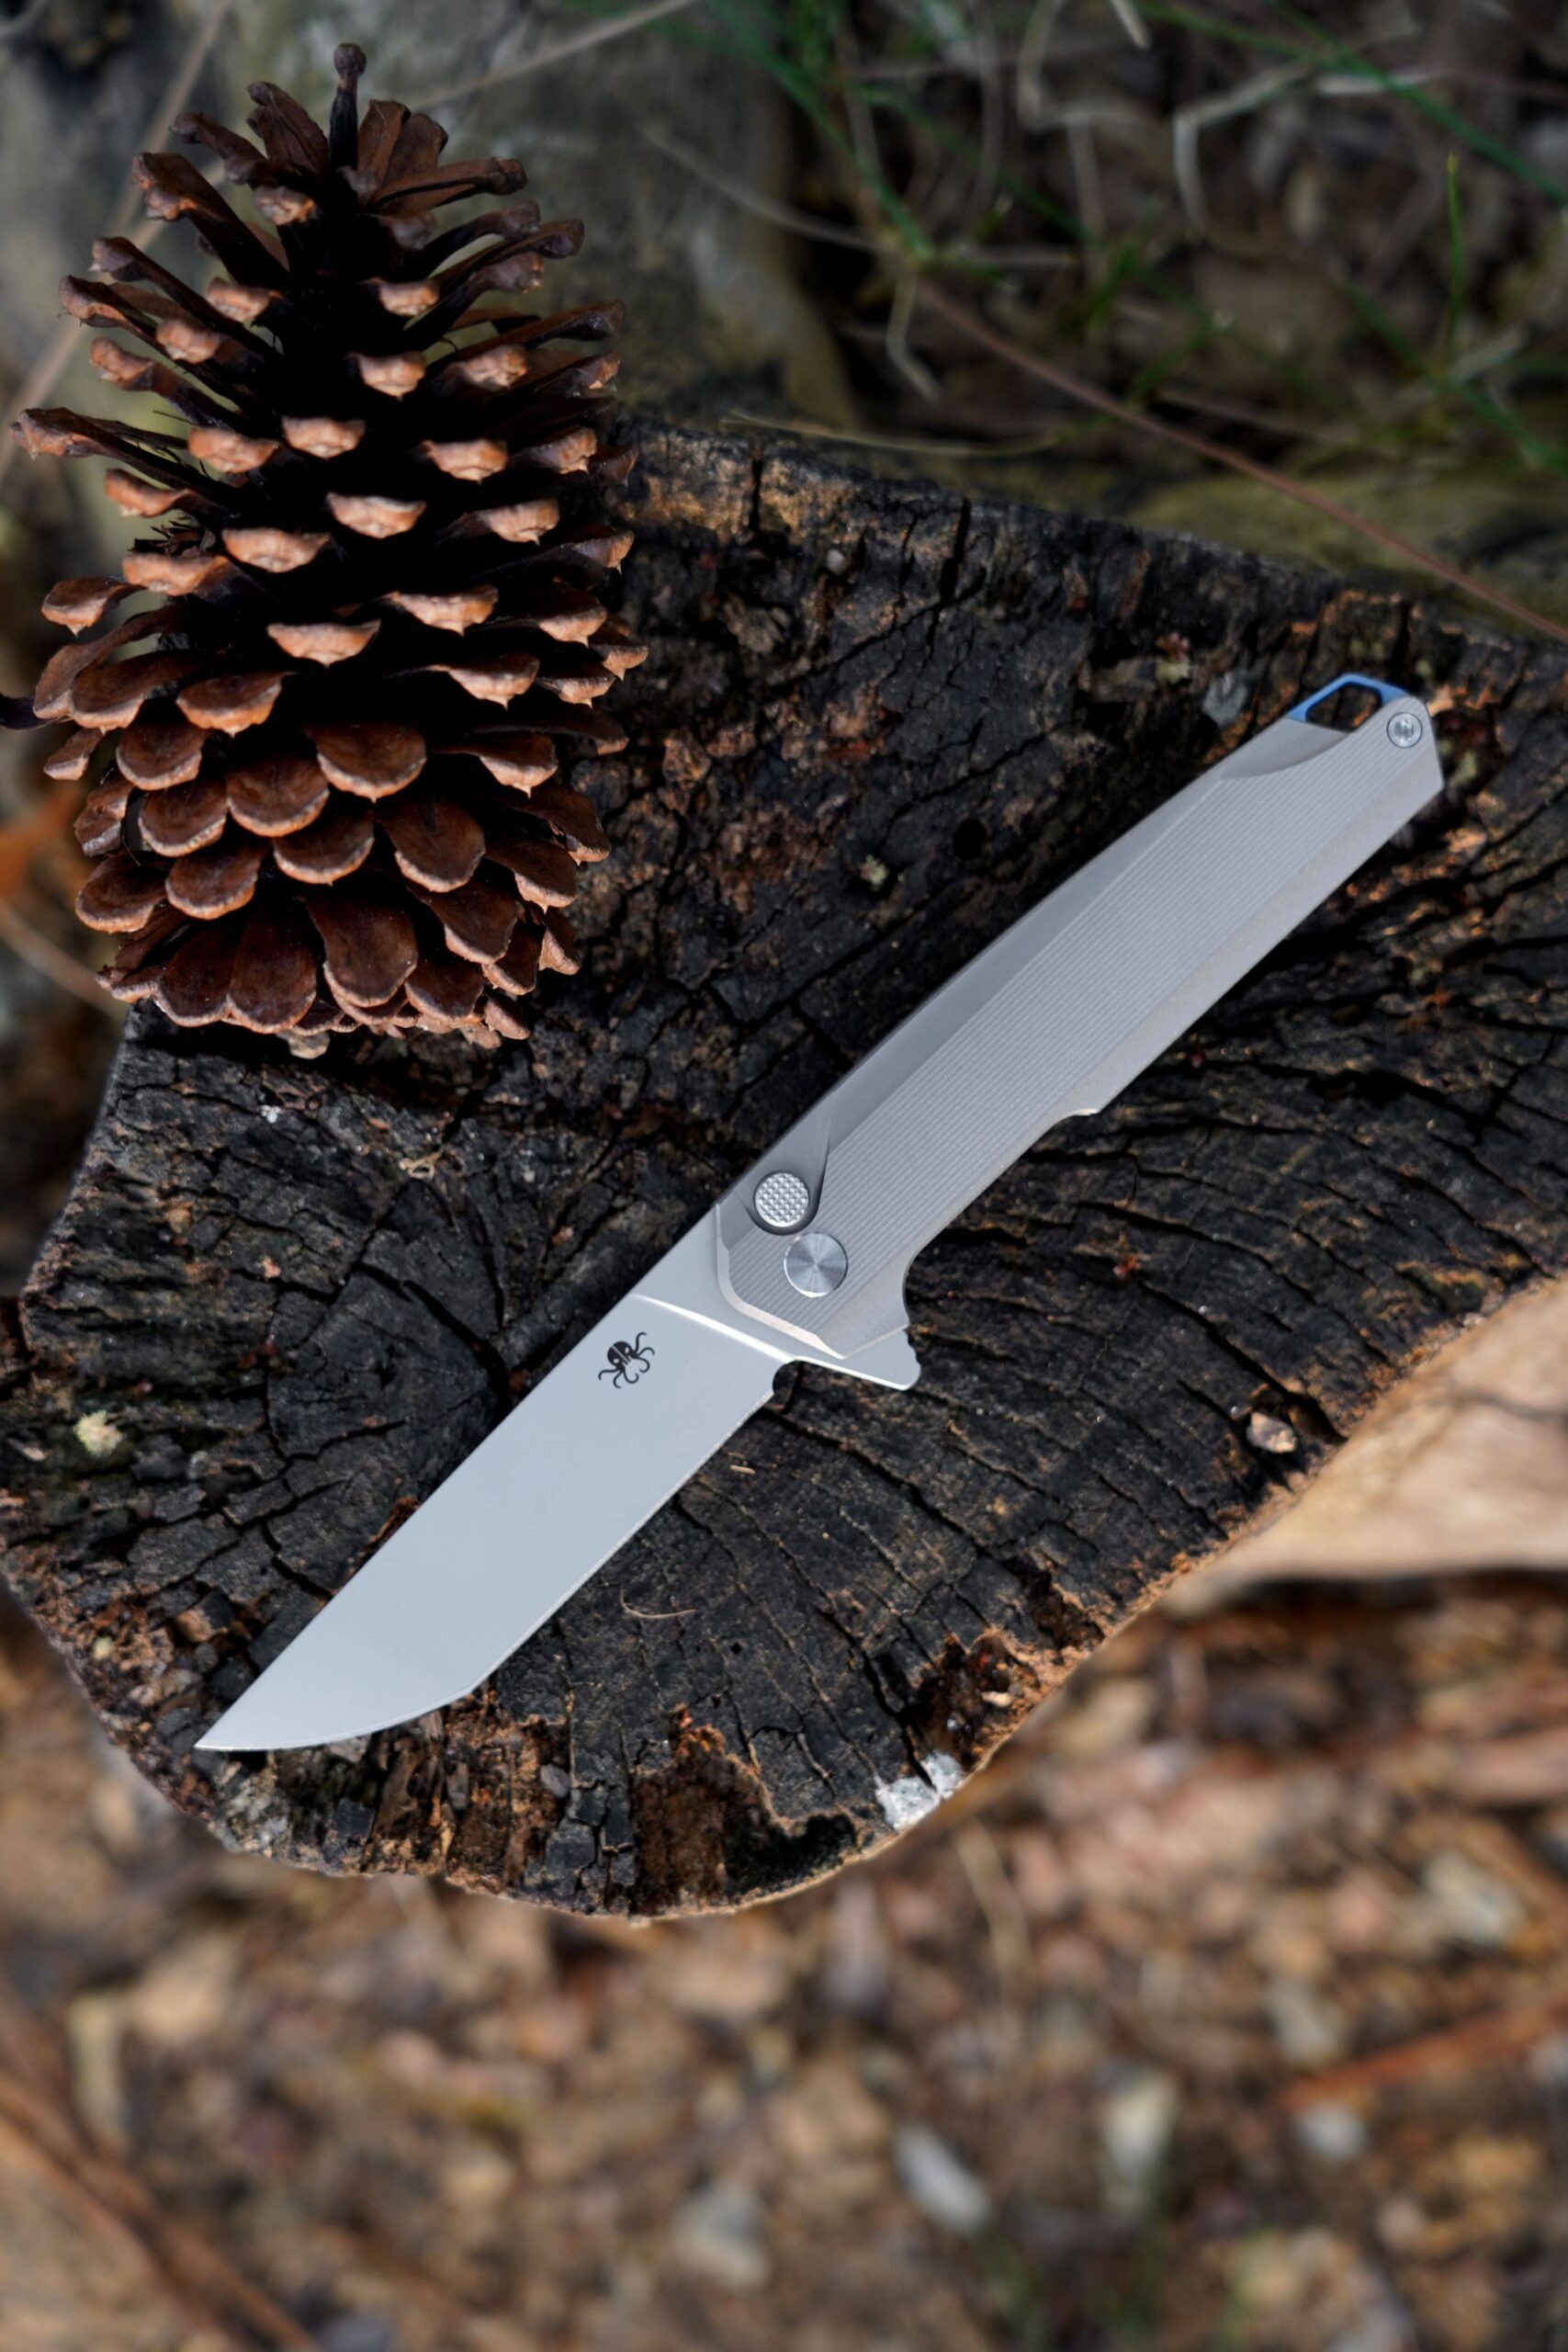
1.2 Anatomy of a Folding Knife
Before you begin sharpening, it’s important to understand the basic parts of a folding knife:
– Blade: The cutting edge of the knife.
– Edge: The sharpened part of the blade that does the cutting.
– Spine: The back of the blade, opposite the edge.
– Handle: The part you hold, which houses the blade when folded.
– Pivot: The mechanism that allows the blade to fold into the handle.
1.3 Types of Sharpening Stones
There are several types of sharpening stones available, each with its own advantages:
– Oil Stones: Traditionally used with oil, these stones are durable and effective for most knives.
– Water Stones: Soaked in water before use, these stones are known for their fine grit and ability to create a razor-sharp edge.
– Diamond Stones: Embedded with diamond particles, these stones are extremely durable and cut quickly.
– Ceramic Stones: Ideal for finishing and honing, these stones provide a very fine edge.
For most folding knives, a combination of coarse, medium, and fine grit stones will suffice.
2. Preparing to Sharpen
2.1 Gather Your Materials
Before you start, make sure you have the following:
– Sharpening Stone(s): Choose a stone with the appropriate grit for your knife’s condition.
– Lubricant: Depending on the type of stone, you may need water, oil, or another lubricant.
– Towel or Cloth: To wipe down the blade and stone.
– Marker (Optional): To help you see where you’re sharpening.
– Strop (Optional):For finishing and polishing the edge.
2.2 Setting Up Your Workspace
Find a flat, stable surface to work on. A table or countertop works well. Place a towel or mat underneath the stone to prevent it from slipping. Ensure you have good lighting so you can see the edge clearly.
2.3 Cleaning the Knife
Before sharpening, clean the blade to remove any dirt, grease, or debris. This ensures that you’re working with a clean surface and prevents contamination of the stone.
3. Sharpening Process
3.1 Determining the Angle
The angle at which you sharpen your knife is crucial. Most folding knives have a bevel angle between 15 and 20 degrees. To maintain consistency, you can use an angle guide or practice holding the blade at the correct angle.
3.2 Marking the Edge (Optional)
If you’re new to sharpening, you can use a marker to color the edge of the blade. This will help you see where you’re removing material and ensure even sharpening.
3.3 Starting with the Coarse Grit
Begin with the coarsest grit stone if your knife is very dull or has nicks in the edge. Apply a few drops of water or oil to the stone, depending on the type.
1. Position the Blade:Hold the knife at the correct angle, with the edge facing away from you.
2. Stroke the Blade: Using light pressure, move the blade across the stone in a sweeping motion, from the heel to the tip. Ensure the entire edge makes contact with the stone.
3. Repeat: Continue this motion, alternating sides after each stroke. Aim for 10-15 strokes per side.
3.4 Moving to the Medium Grit
Once you’ve established a consistent edge with the coarse stone, switch to a medium grit stone to refine the edge.
1. Repeat the Process: Follow the same steps as with the coarse stone, but with lighter pressure.
2. Check Progress: Periodically check the edge to ensure you’re removing the scratches left by the coarse stone.
3.5 Finishing with the Fine Grit
The fine grit stone is used to polish the edge and remove any remaining burrs.
1. Final Strokes:Use light, even strokes to hone the edge to a razor-sharp finish.
2. Burr Removal: After sharpening, you may notice a small burr on the edge. Gently stroke the blade across the stone to remove it.
3.6 Honing with a Strop (Optional)
For an even finer edge, you can use a leather strop with polishing compound. This step is optional but can significantly enhance the sharpness and longevity of the edge.
1. Apply Compound: Rub a small amount of polishing compound onto the strop.
2.Strop the Blade: Hold the strop taut and draw the blade across it, edge trailing. Repeat on both sides until the edge is polished.
4. Testing the Sharpness
After sharpening, it’s important to test the edge to ensure it’s sharp enough.
4.1 Paper Test
Try cutting a piece of paper. A sharp knife should slice through the paper cleanly and effortlessly.
4.2 Tomato Test
A sharp knife should easily slice through a tomato without crushing it.
4.3 Hair Test (Advanced)
For a more advanced test, you can try shaving a small amount of hair from your arm. A truly sharp knife will cut the hair cleanly.
5. Maintaining Your Knife
5.1 Regular Honing
Even with regular use, your knife’s edge will gradually dull. Honing with a fine stone or strop can help maintain the edge between full sharpenings.
5.2 Proper Storage
Store your folding knife in a dry place, preferably in a sheath or pouch to protect the edge.
5.3 Cleaning After Use
Always clean your knife after use, especially if it has been exposed to moisture or corrosive substances. Dry it thoroughly to prevent rust.
5.4 Periodic Sharpening
Depending on how often you use your knife, you may need to sharpen it every few months or more frequently. Regular maintenance will keep your knife in top condition.
6. Troubleshooting Common Issues
6.1 Uneven Sharpening
If one side of the blade is sharper than the other, you may be applying uneven pressure. Focus on maintaining consistent pressure and angle on both sides.
6.2 Burrs
Burrs are small metal fragments that can form on the edge during sharpening. They can be removed by gently stroking the blade across the stone or using a strop.
6.3 Scratches on the Blade
If you notice scratches on the blade, you may be using too coarse a grit or applying too much pressure. Switch to a finer grit and use lighter strokes.
6.4 Dull Edge After Sharpening
If your knife still feels dull after sharpening, you may not have removed enough material. Go back to a coarser grit and repeat the process.
7. Advanced Techniques
7.1 Freehand Sharpening
Once you’re comfortable with the basics, you can try freehand sharpening without an angle guide. This requires practice but offers greater flexibility.
7.2 Using a Sharpening System
For those who prefer more precision, sharpening systems with adjustable angle guides can be a good investment. These systems ensure consistent angles and can be easier for beginners.
7.3 Polishing the Edge
For a mirror finish, you can use progressively finer grit stones and polishing compounds. This is more common among knife enthusiasts and collectors.
8. Safety Tips
8.1 Always Cut Away from Yourself
When sharpening, always move the blade away from your body to avoid accidents.
8.2 Use Light Pressure
Applying too much pressure can damage the blade or cause you to lose control. Use light, even strokes.
8.3 Keep Fingers Clear
Keep your fingers away from the edge while sharpening. Consider using a finger guard or glove for added protection.
8.4 Secure the Stone
Ensure the stone is stable and won’t slip during use. A slipping stone can lead to uneven sharpening or injury.
9. Conclusion
Sharpening a folding knife with a stone is a valuable skill that can greatly enhance your knife’s performance and longevity. By following the steps outlined in this guide, you can achieve a sharp, reliable edge that will serve you well in a variety of tasks. Remember to practice regularly, maintain your tools, and always prioritize safety. With time and experience, you’ll become proficient in the art of knife sharpening, ensuring that your folding knife is always ready for action.
Whether you’re a seasoned outdoorsman or a casual user, taking the time to properly sharpen your folding knife is an investment in both your tool and your craft. Happy sharpening!