


How to Make a Folding Knife: A Comprehensive Guide
Folding knives are versatile tools that have been used for centuries for various purposes, from everyday carry (EDC) to specialized tasks like hunting and camping. Making a folding knife is a rewarding project that combines craftsmanship, engineering, and creativity. This guide will walk you through the process of making a folding knife, from selecting materials to assembling the final product.
1. Introduction to Folding Knives
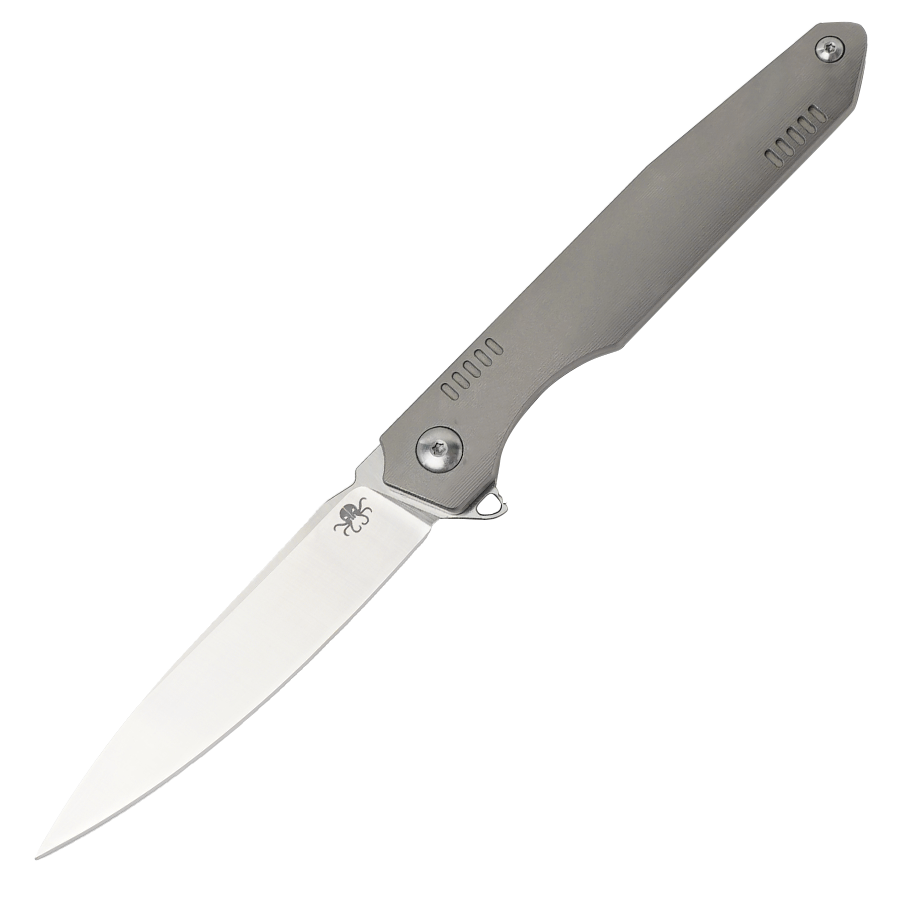
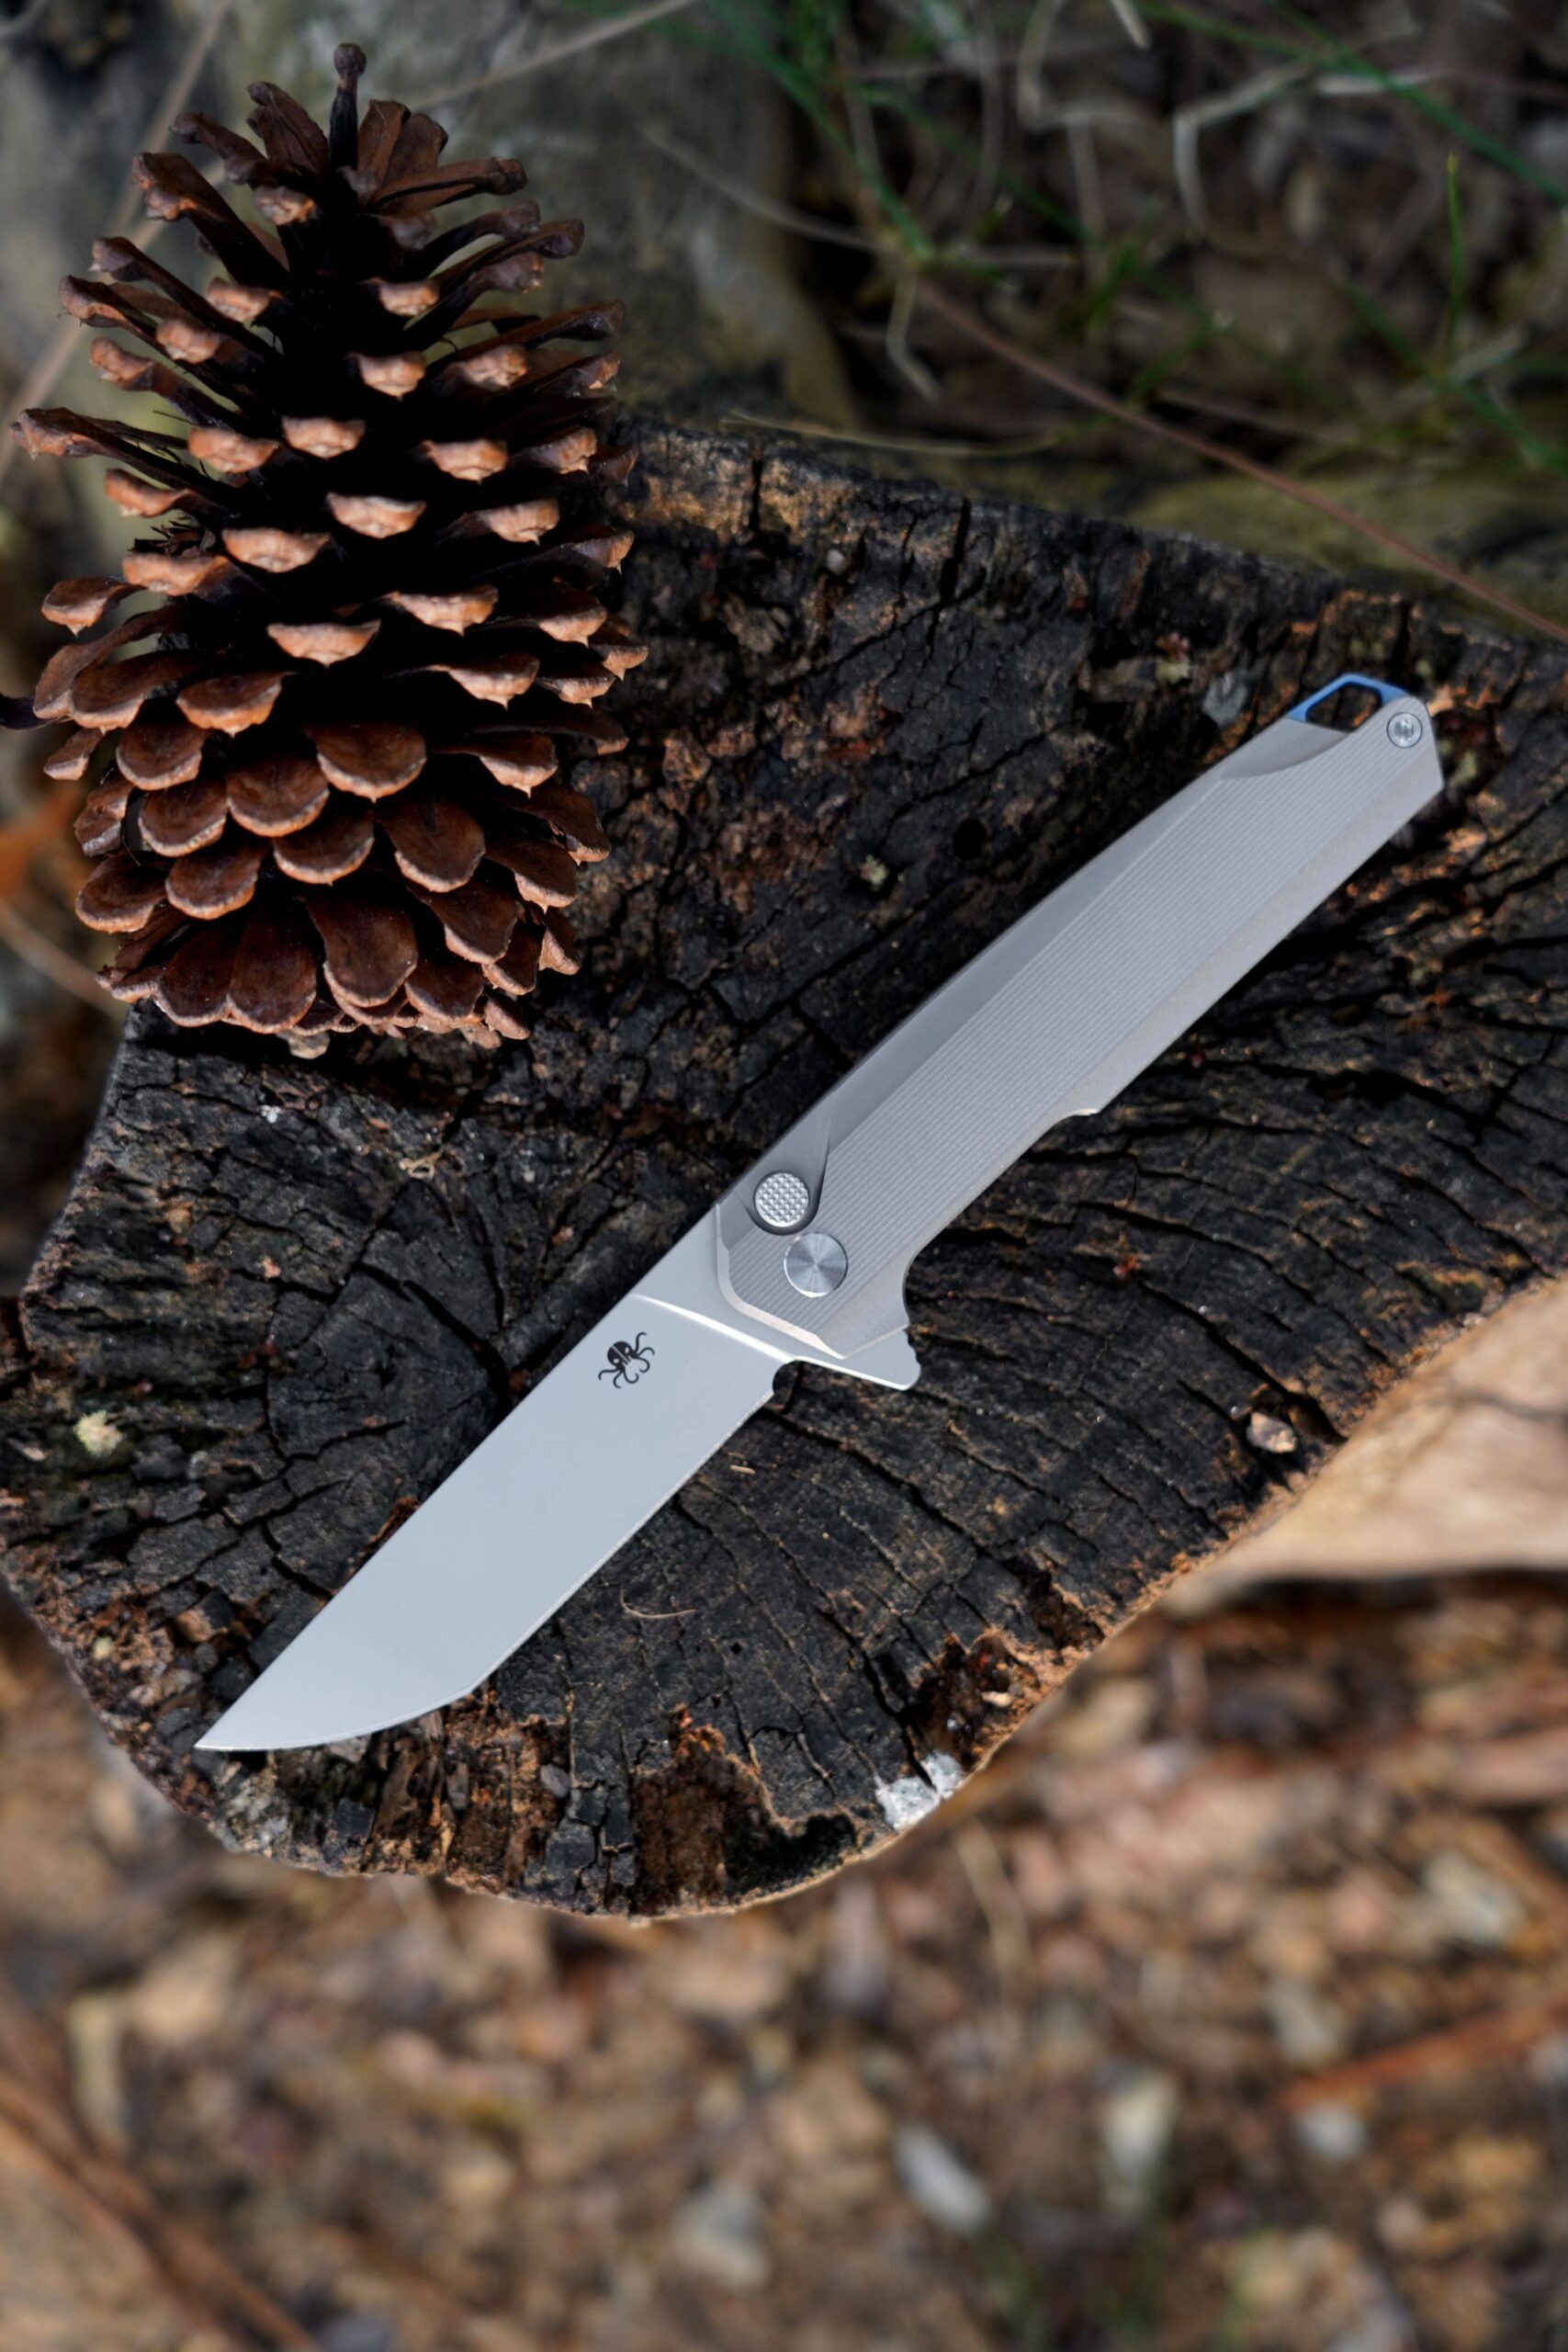
A folding knife, also known as a pocket knife, is a type of knife with one or more blades that fit inside the handle. The blade is typically hinged at one end, allowing it to fold into the handle when not in use. Folding knives are popular because they are compact, portable, and safe to carry.
1.1 Types of Folding Knives
There are several types of folding knives, each with its own unique mechanism:
-Slip Joint Knife: The blade is held open by a spring mechanism but does not lock in place.
– Lockback Knife: The blade locks in place when opened, and a release mechanism is used to close it.
– Liner Lock Knife: A liner inside the handle moves to lock the blade in place when opened.
– Frame Lock Knife: Similar to a liner lock, but the lock is part of the handle frame itself.
– Axis Lock Knife: A spring-loaded bar locks the blade in place when opened.
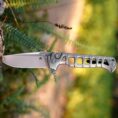
For this guide, we will focus on making a basic liner lock folding knife, which is a popular and relatively simple design for beginners.
2. Materials and Tools
Before you start making your folding knife, you’ll need to gather the necessary materials and tools.
2.1 Materials
– Blade Steel: High-carbon steel or stainless steel is commonly used for knife blades. Popular choices include 1095, 440C, and D2.
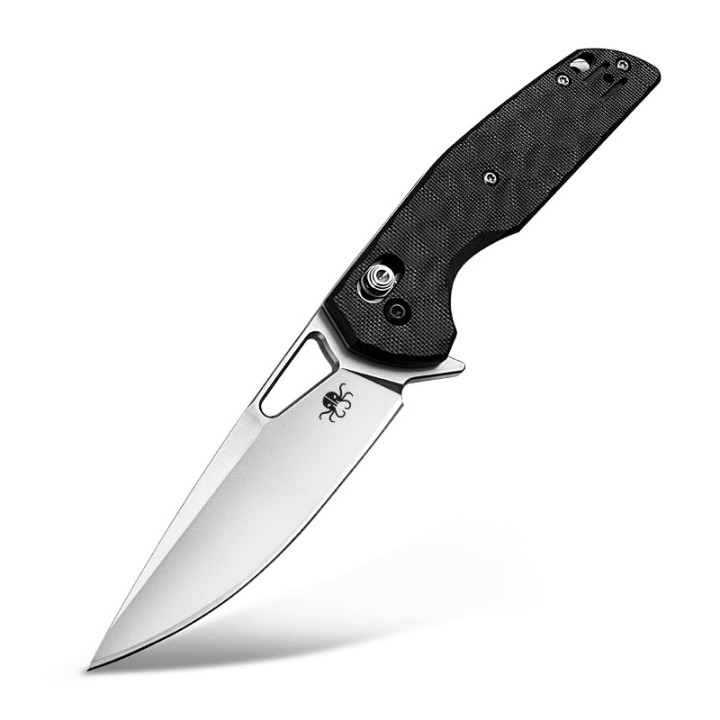
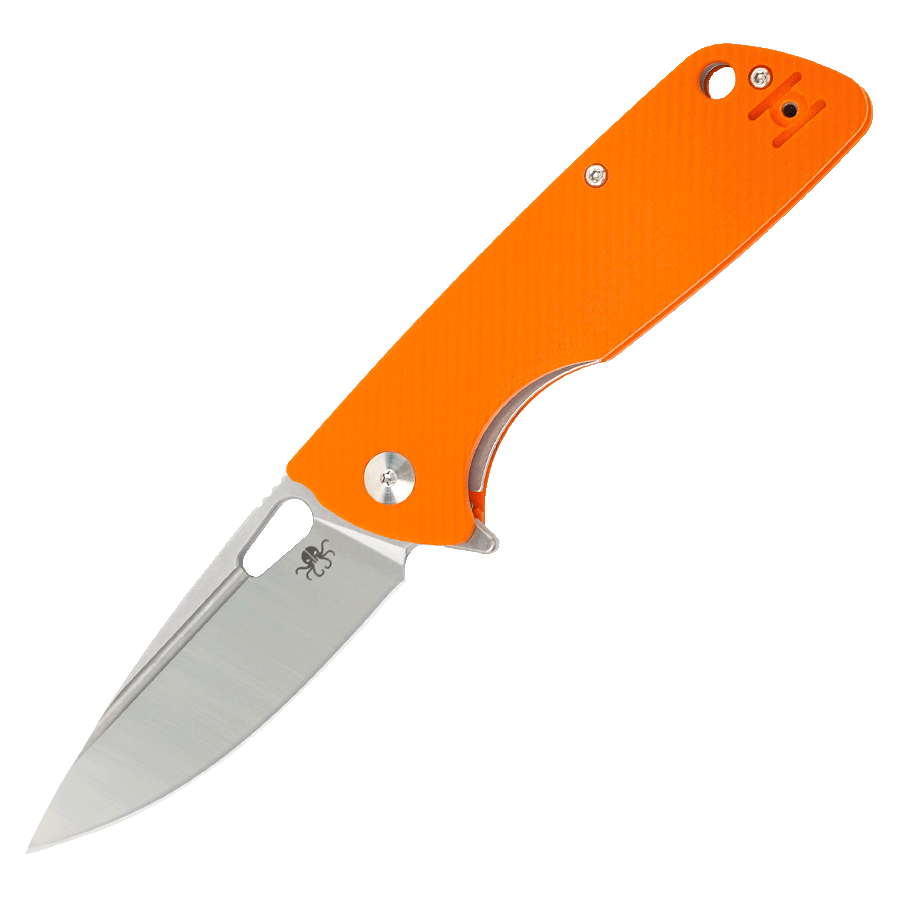
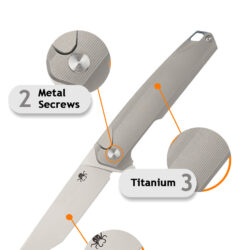
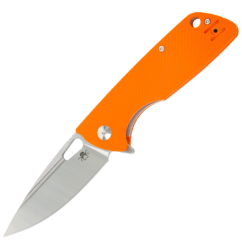
– Handle Material: This can be wood, G-10, micarta, or metal (such as titanium or aluminum).
– Liner Material: Typically made from thin sheets of metal like titanium or stainless steel.
– Pivot Pin and Screws: These will hold the blade and handle together.
– Spring or Detent Ball: For the locking mechanism.
-Spacers or Backspacer: These are optional but can add strength and aesthetic appeal to the handle.
2.2 Tools
– Bandsaw or Hacksaw: For cutting the blade and handle materials.
– Files and Sandpaper: For shaping and smoothing the blade and handle.
– Drill Press: For drilling holes for the pivot pin and screws.
– Vise: To hold the materials securely while working on them.
– Heat Treating Oven: If you’re using high-carbon steel, you’ll need to heat treat the blade.
– Torch or Propane Burner: For heat treating if you don’t have an oven.
– Calipers: For precise measurements.
– Screwdrivers and Allen Wrenches: For assembling the knife.
3. Designing the Knife
Before you start cutting and shaping, it’s essential to have a clear design in mind. You can either create your own design or use a pre-existing template.
3.1 Blade Design
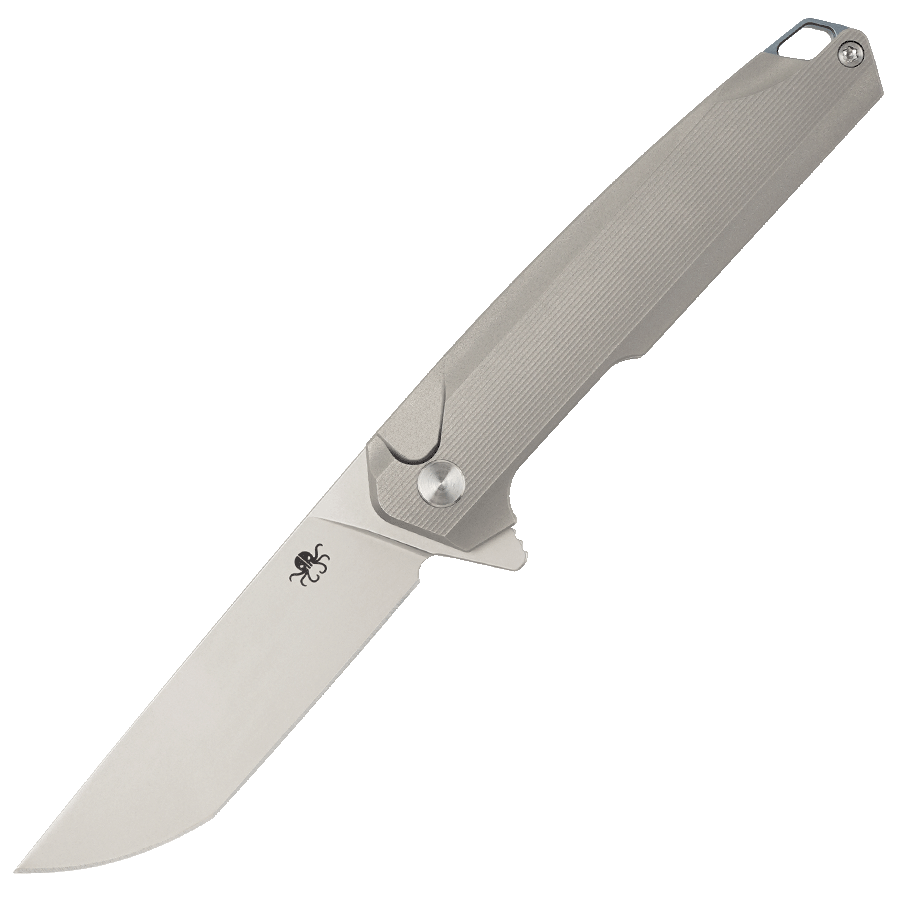
– Blade Shape: Common shapes include drop point, tanto, and clip point. Choose a shape that suits your intended use.
– Blade Length: Typically between 2.5 to 4 inches for a folding knife.
– Edge Type: You can choose between a plain edge, serrated edge, or a combination of both.
3.2 Handle Design
– Handle Length: Should be proportional to the blade length.
– Ergonomics: Consider how the knife will feel in your hand. The handle should be comfortable to grip.
– Aesthetics: Decide on the overall look of the handle, including any decorative elements like filework or inlays.
3.3 Locking Mechanism
For a liner lock knife, the liner (a thin piece of metal inside the handle) will flex to lock the blade in place when opened. Ensure that your design accommodates this mechanism.
4. Making the Blade
4.1 Cutting the Blade
1. Trace the Design: Use a marker to trace your blade design onto the steel.
2. Cut the Blade: Use a bandsaw or hacksaw to cut out the blade shape. Be sure to wear safety goggles and gloves.
4.2 Shaping the Blade
1. File the Edges: Use files to refine the shape of the blade. Pay attention to the bevels, which will form the cutting edge.
2. Sand the Blade: Start with coarse-grit sandpaper and work your way up to finer grits to achieve a smooth finish.
4.3 Heat Treating the Blade
1. Heat the Blade: Use a heat treating oven or torch to heat the blade to the appropriate temperature (usually around 1500°F for high-carbon steel).
2. Quench the Blade: Quickly cool the blade in oil or water to harden it.
3. Temper the Blade: Reheat the blade to a lower temperature (around 400°F) to reduce brittleness and increase toughness.
4.4 Sharpening the Blade
1. Hone the Edge: Use a sharpening stone or whetstone to create a sharp edge.
2. Polish the Blade: Use fine-grit sandpaper or a polishing compound to give the blade a mirror finish.
5. Making the Handle
5.1 Cutting the Handle Scales
1. Trace the Design: Trace the handle design onto your chosen material.
2. Cut the Scales: Use a bandsaw or hacksaw to cut out the handle scales.
5.2 Shaping the Handle
1. File the Scales: Use files to shape the handle scales to your desired contour.
2.Sand the Scales: Start with coarse-grit sandpaper and work your way up to finer grits for a smooth finish.
5.3 Drilling Holes
1. Mark the Hole Locations: Use a caliper to mark where the pivot pin and screws will go.
2. Drill the Holes: Use a drill press to drill the holes in the handle scales and liners.
6. Assembling the Knife
6.1 Attaching the Blade
1. Insert the Pivot Pin: Place the blade between the handle scales and insert the pivot pin through the holes.
2. Secure the Pivot Pin: Use screws or a nut and bolt to secure the pivot pin in place.
6.2 Installing the Liner Lock
1. Position the Liner: Place the liner inside the handle, ensuring it aligns with the blade.
2. Test the Lock: Open and close the blade to ensure the liner lock engages properly.
6.3 Final Assembly
1. Attach the Handle Scales: Secure the handle scales to the liners using screws or adhesive.
2. Add Spacers or Backspacer: If desired, add spacers or a backspacer to the handle for added strength and aesthetics.
7. Finishing Touches
7.1 Polishing the Knife
1.Polish the Handle: Use fine-grit sandpaper or a polishing compound to give the handle a smooth finish.
2. Polish the Blade: Ensure the blade is clean and free of any scratches.
7.2 Lubricating the Mechanism
1. Apply Lubricant: Use a small amount of lubricant on the pivot pin to ensure smooth opening and closing of the blade.
7.3 Testing the Knife
1. Check the Lock: Ensure the liner lock engages securely when the blade is open.
2. Test the Edge: Carefully test the sharpness of the blade on a piece of paper or other material.
8. Conclusion
Making a folding knife is a challenging but rewarding project that requires patience, precision, and attention to detail. By following this guide, you can create a custom folding knife that is both functional and aesthetically pleasing. Whether you’re a seasoned knife maker or a beginner, the process of crafting a folding knife is a great way to hone your skills and create a tool that you can be proud of.
Remember to always prioritize safety when working with sharp tools and high temperatures. With practice and experience, you can continue to refine your techniques and create even more intricate and sophisticated folding knives. Happy knife making!