How to Build a Folding Knife: A Step-by-Step Guide
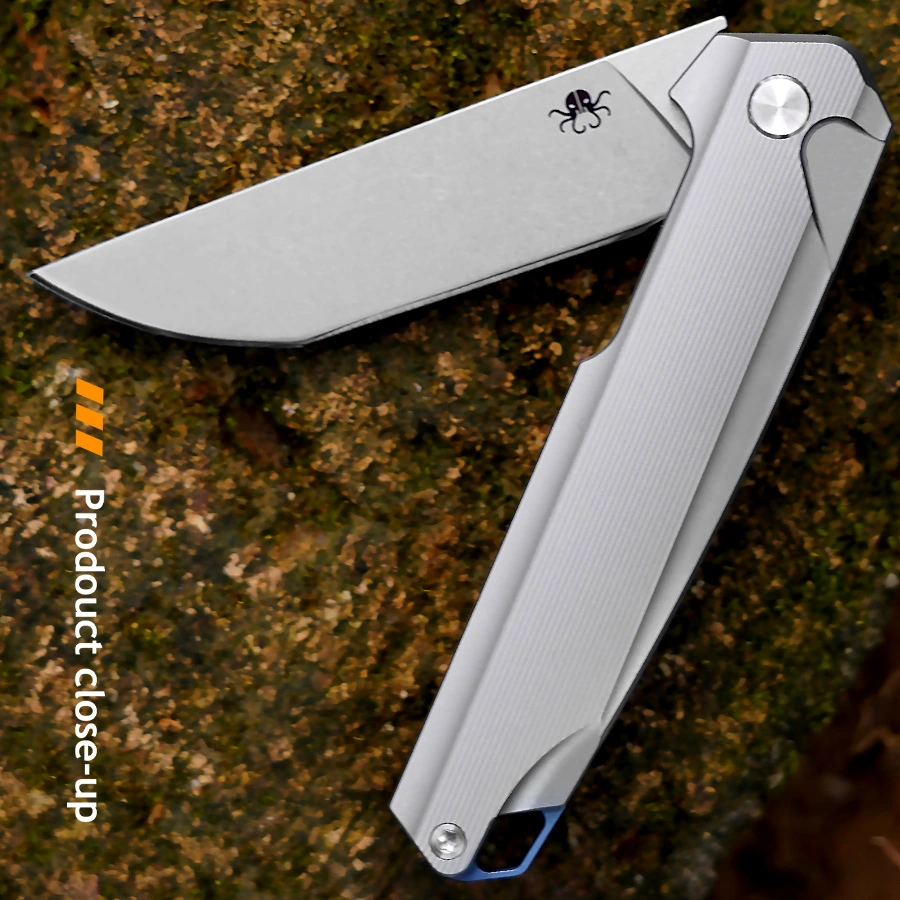
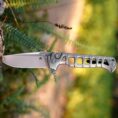
Building a folding knife is a rewarding project that combines craftsmanship, engineering, and creativity. Whether you’re a hobbyist, a DIY enthusiast, or an aspiring knifemaker, creating your own folding knife allows you to customize every detail to suit your needs. This guide will walk you through the process of designing, crafting, and assembling a folding knife from scratch.
1. Planning and Design
Determine the Purpose
Before starting, decide the primary purpose of your folding knife. Will it be for everyday carry (EDC), outdoor survival, or as a collectible? The intended use will influence the blade shape, size, materials, and locking mechanism.
- EDC Knives: Compact, lightweight, and easy to carry.
- Outdoor Knives: Durable, with a robust blade for heavy-duty tasks.
- Collectible Knives: Focus on aesthetics, intricate designs, and premium materials.
Sketch the Design
Create a detailed sketch or use CAD software to design your knife. Include the following elements:
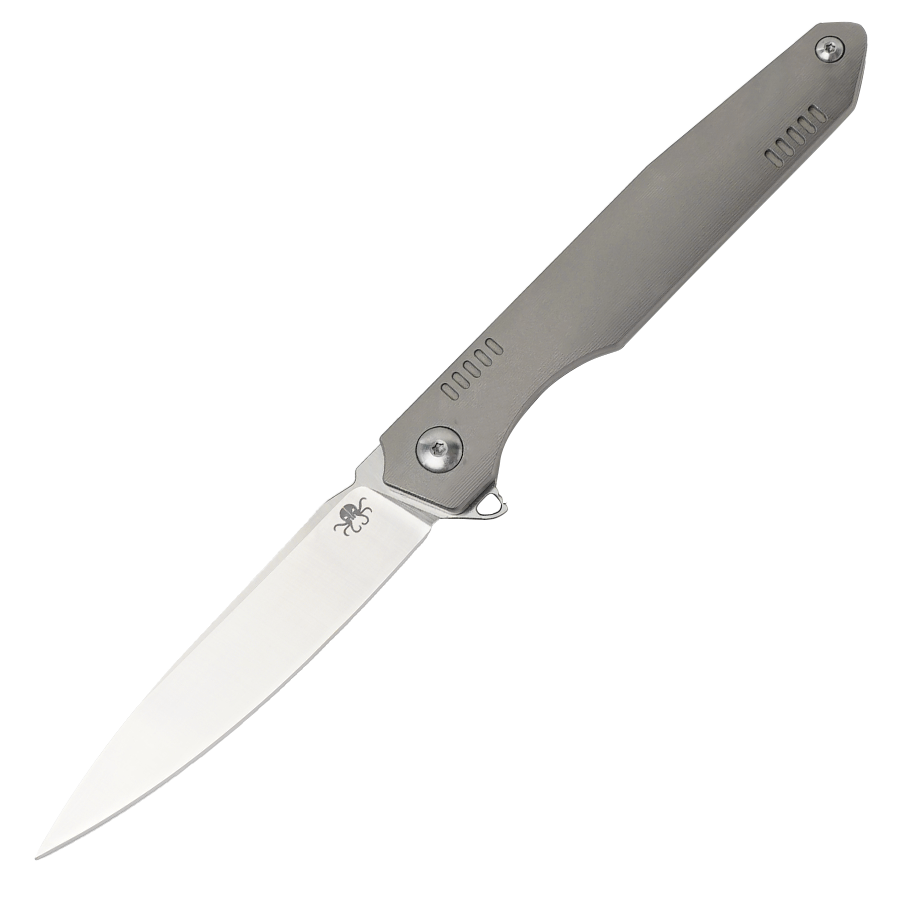
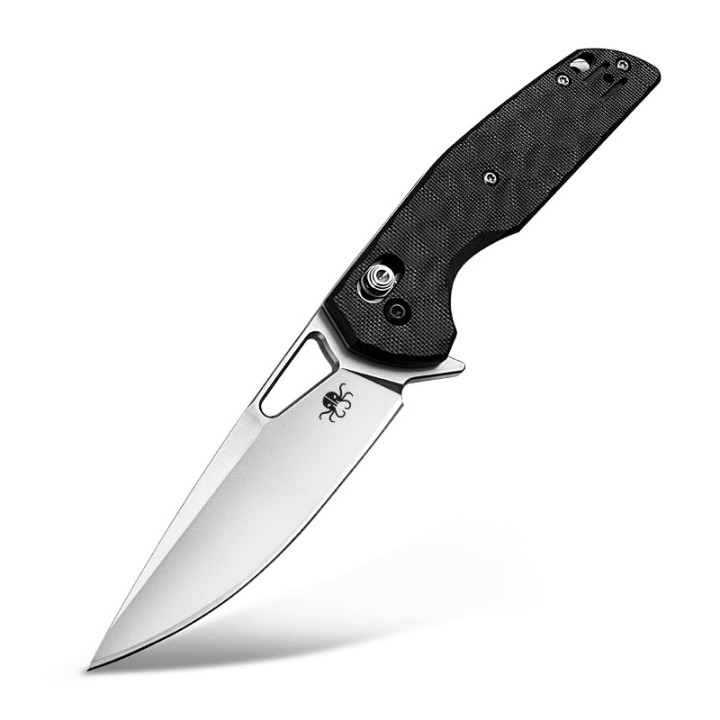
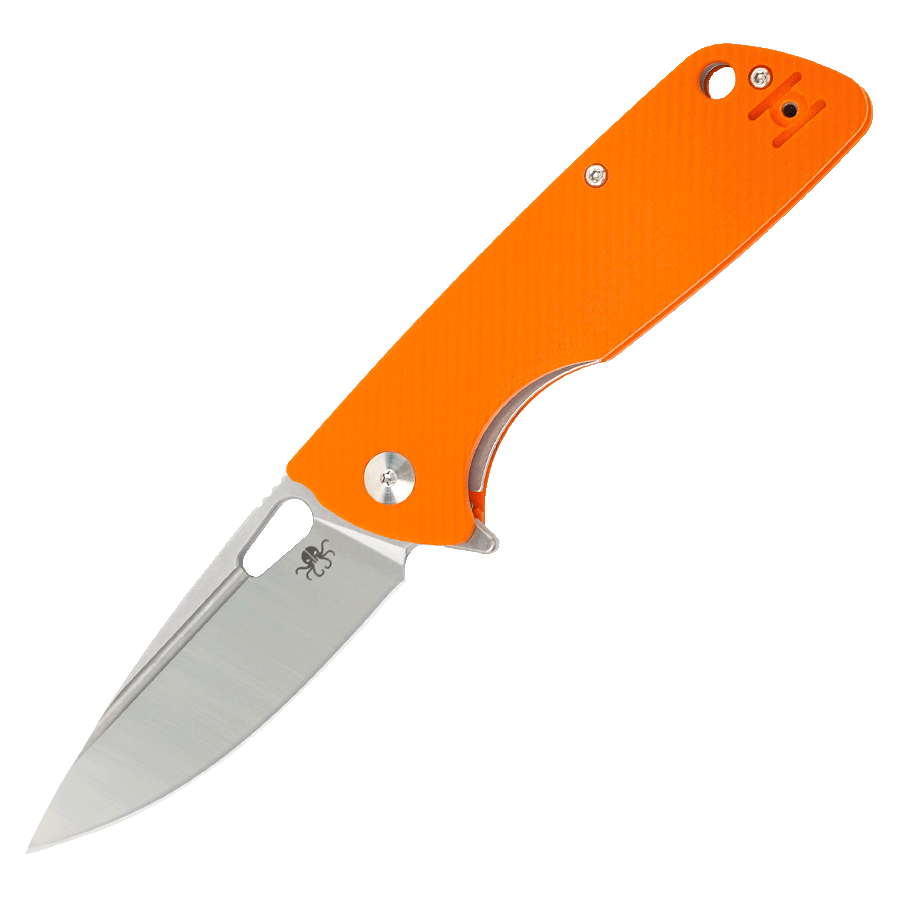
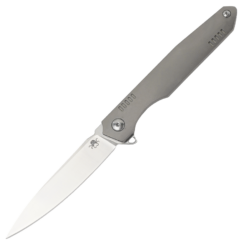
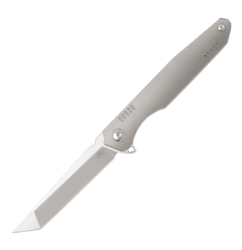
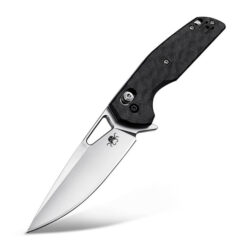
- Blade Shape: Common shapes include drop point, tanto, clip point, and spear point.
- Blade Size: Typically between 2.5 to 4 inches for folding knives.
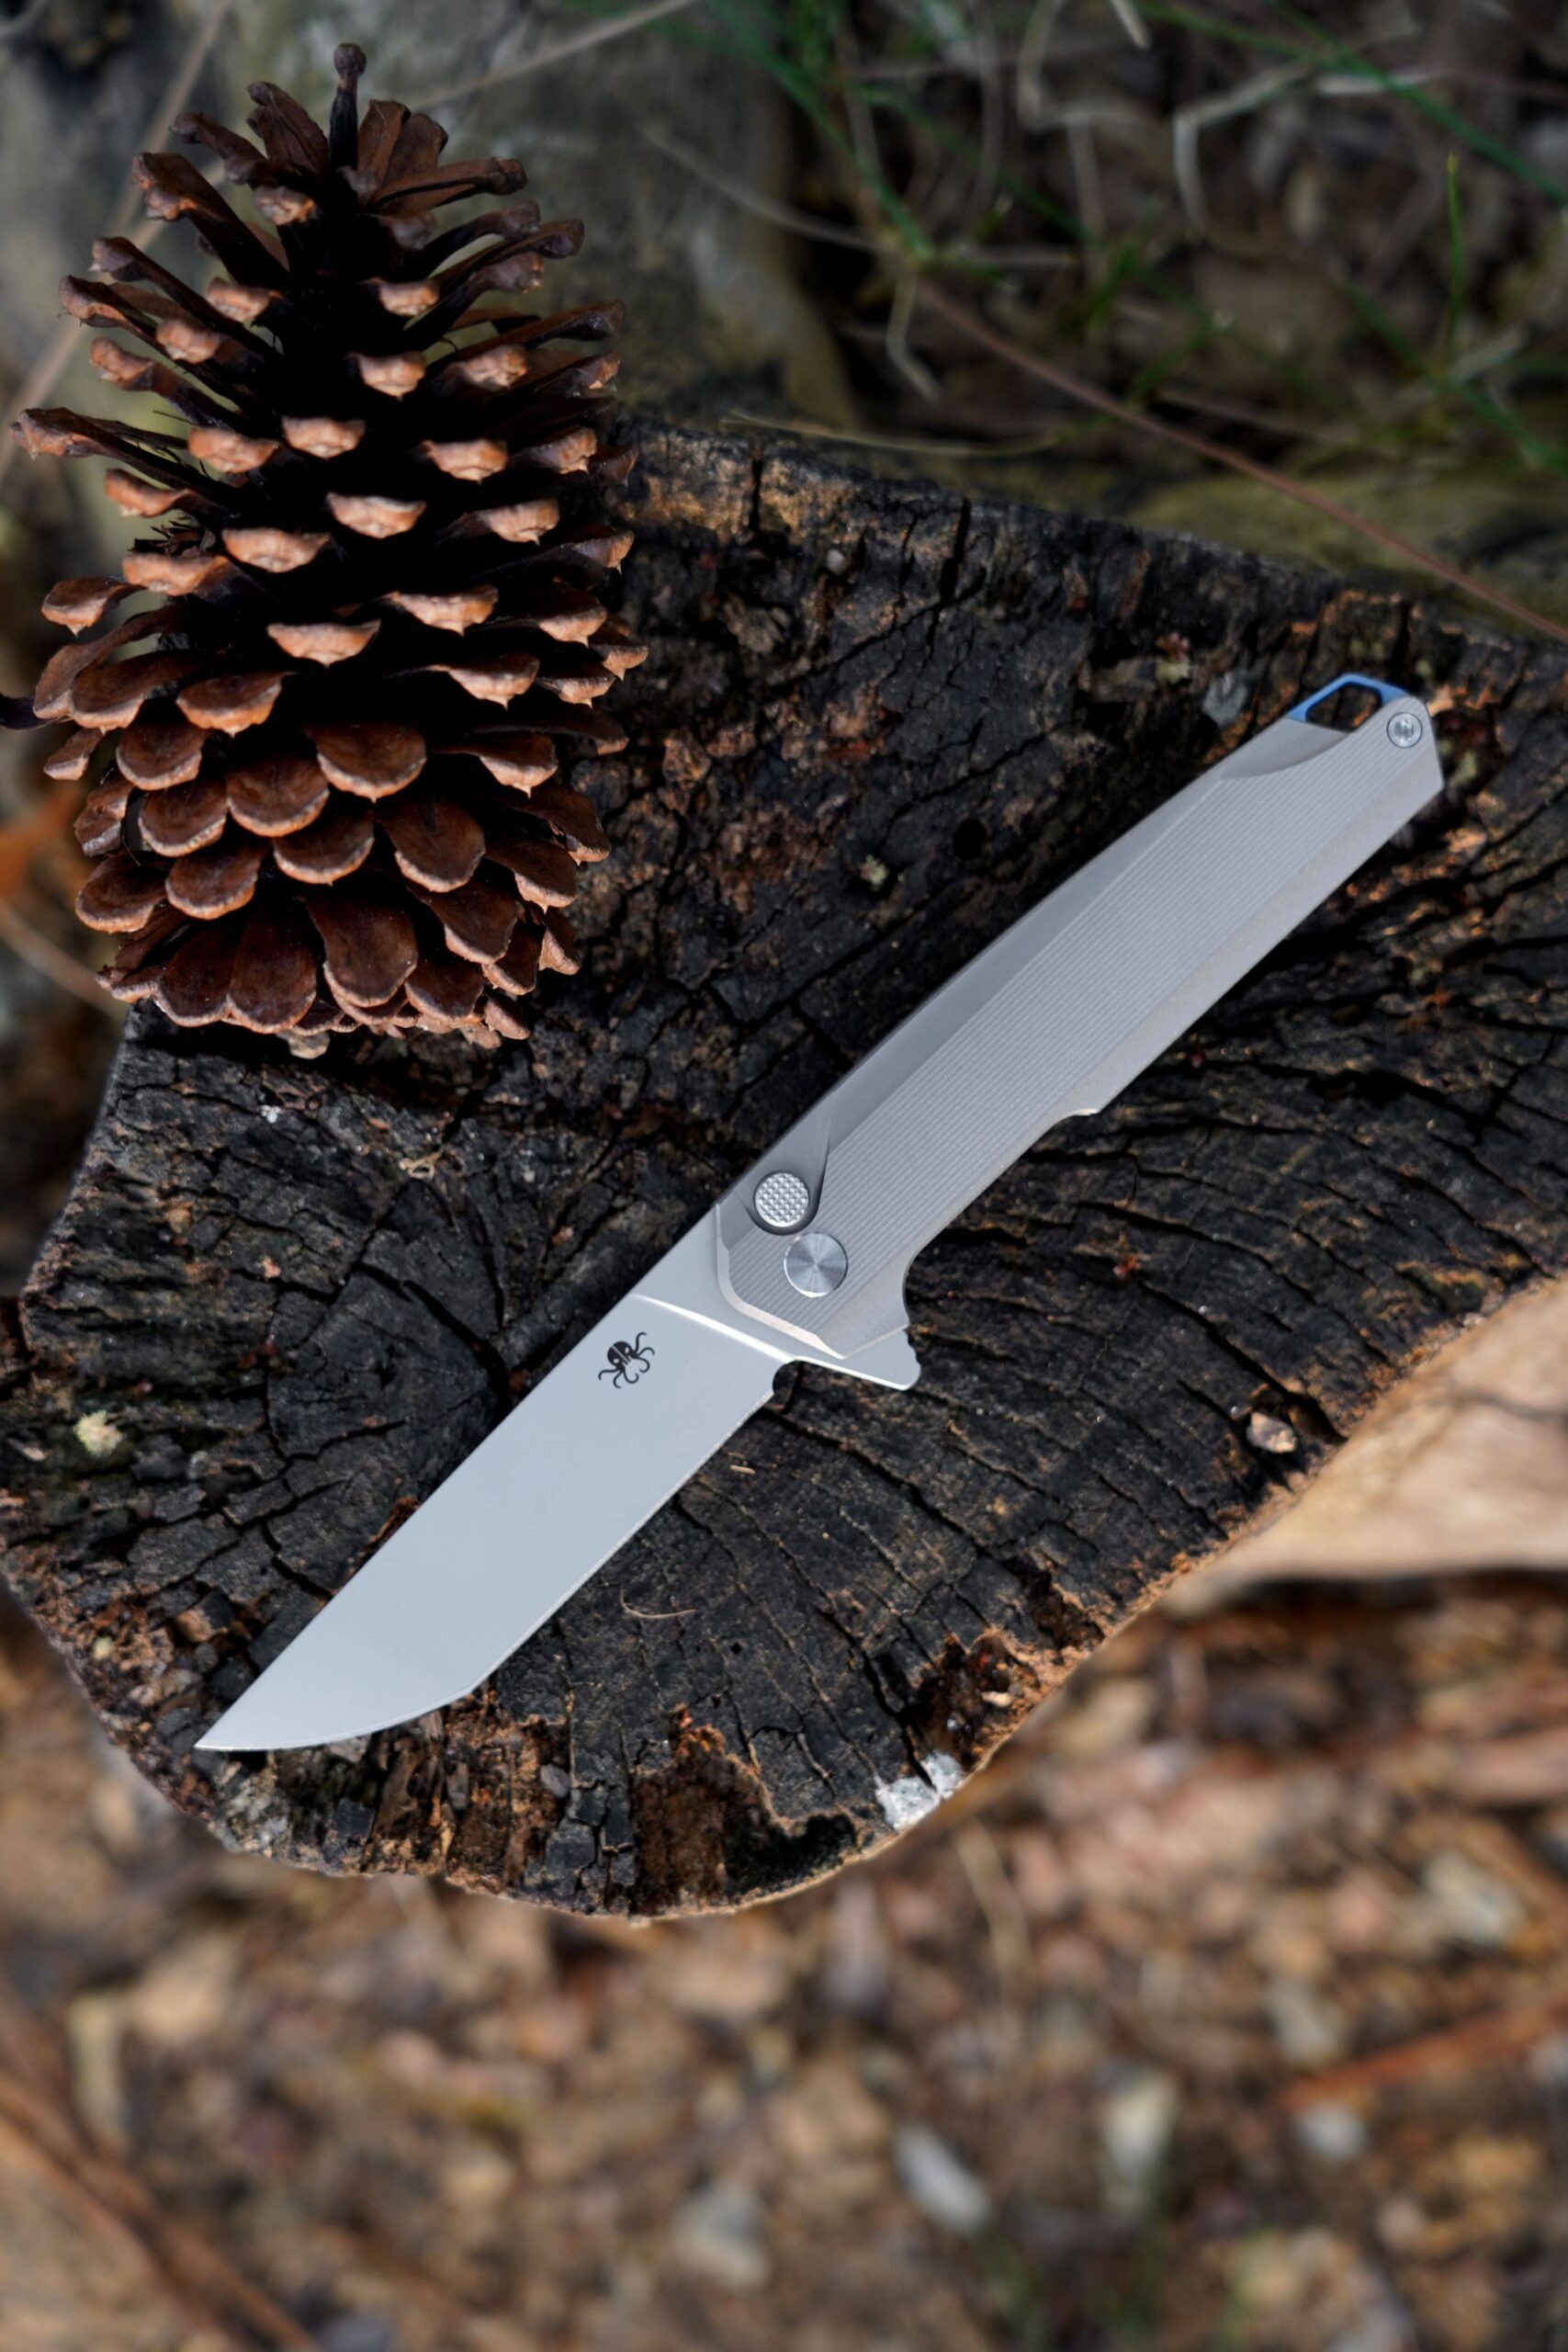
- Locking Mechanism: Choose a reliable system like a liner lock, frame lock, or back lock.
- Handle Design: Ensure it’s ergonomic and complements the blade.
2. Material Selection
Blade Material
The blade is the heart of the knife, so choose a material that balances hardness, toughness, and corrosion resistance. Popular options include:
- High-Carbon Steel: Known for its edge retention and ease of sharpening (e.g., 1095, O1).
- Stainless Steel: Resistant to rust and ideal for EDC knives (e.g., 440C, S30V).
- Tool Steel: Extremely durable and wear-resistant (e.g., D2, M390).
Handle Material
The handle should be comfortable, durable, and visually appealing. Common materials include:
- Wood: Classic and aesthetically pleasing (e.g., walnut, maple).
- Synthetic Materials: Lightweight and durable (e.g., G10, Micarta).
- Metals: Strong and modern (e.g., titanium, aluminum).
Additional Components
- Pivot Pin and Screws: Stainless steel or titanium for durability.
- Spacers/Washers: Brass or phosphor bronze for smooth blade movement.
- Spring: For assisted-opening mechanisms (if applicable).
3. Tools and Equipment
To build a folding knife, you’ll need the following tools:
- Angle Grinder or Bandsaw: For cutting the blade and handle materials.
- Belt Sander: For shaping and beveling the blade.
- Drill Press: For precise holes in the blade and handle.
- Files and Sandpaper: For fine-tuning and finishing.
- Heat Treating Oven or Torch: For hardening the blade.
- Calipers and Ruler: For accurate measurements.
- Vise: To hold parts securely during assembly.
4. Step-by-Step Construction
Step 1: Craft the Blade
- Cut the Blade Blank: Use a bandsaw or angle grinder to cut the blade profile from your chosen steel.
- Shape the Blade: Use a belt sander to refine the shape and create the bevels.
- Drill Holes: Drill holes for the pivot pin, handle screws, and any decorative pins.
- Heat Treatment: Harden the blade by heating it to the appropriate temperature (depending on the steel) and quenching it in oil. Temper the blade to reduce brittleness.
- Finish the Blade: Polish the blade with sandpaper and buff it to a mirror or satin finish.
Step 2: Create the Handle
- Cut the Handle Scales: Cut two pieces of handle material to match the blade’s tang.
- Shape the Scales: Use a belt sander to contour the scales for comfort and aesthetics.
- Drill Holes: Align the scales with the blade and drill holes for the pivot pin and screws.
Step 3: Assemble the Knife
- Install the Pivot Pin: Insert the pivot pin through the blade and handle scales.
- Add Washers: Place washers between the blade and handle to ensure smooth movement.
- Attach the Scales: Secure the handle scales with screws or pins.
- Test the Action: Open and close the knife to ensure smooth operation. Adjust the pivot tension if necessary.
- Install the Locking Mechanism: If using a liner lock or frame lock, ensure it engages securely when the blade is open.
Step 4: Final Touches
- Sharpen the Blade: Use a whetstone or sharpening system to achieve a razor-sharp edge.
- Polish the Handle: Sand and polish the handle for a smooth, comfortable finish.
- Apply a Protective Coating: Optionally, apply a protective coating to the blade to prevent rust.
5. Safety Tips
- Always wear safety goggles, gloves, and a dust mask when cutting, grinding, or sanding.
- Work in a well-ventilated area, especially during heat treatment.
- Use sharp tools to reduce the risk of accidents caused by slipping.
6. Customization Ideas
- Engraving: Add personal touches like initials or patterns to the blade or handle.
- Decorative Pins: Use mosaic pins or colored spacers for a unique look.
- Assisted Opening: Incorporate a spring mechanism for quick deployment.
Conclusion
Building a folding knife is a challenging yet fulfilling project that requires precision, patience, and attention to detail. By following this guide, you can create a custom knife tailored to your preferences and needs. Whether you’re crafting a practical tool or a work of art, the process of making a folding knife is a testament to the timeless appeal of handmade craftsmanship. So gather your tools, choose your materials, and start building your dream knife today!

